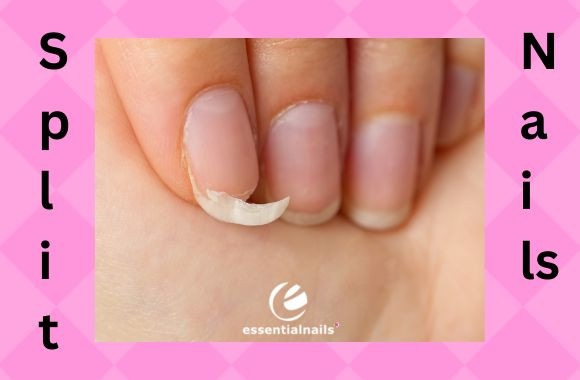
Dealing with Nail Splits
As a nail technician in training, one of the most common issues you’ll encounter with clients is split nails. Splits can occur for a variety of reasons - trauma to the nail, excessive dryness, nutritional deficiencies, or improper nail care. While splits are typically not medically serious, they can cause pain, snagging, and discomfort for clients. As their nail professional, it’s your job to help clients prevent and repair splits using proper techniques and products. Here are some tips on handling nail splits:
Assess the Split
When a client comes in with a split nail, start by assessing the location, depth, and extent of the split. Look to see if it’s in the nail plate or just affecting layers of product. Shallow splits in the product or surface layer can often be repaired with silk wrap and glue. Deeper splits affecting the nail plate, on the other hand, will require more intensive repair.
Prepare the Nail
Once you’ve assessed the split, file the free edge of the nail to remove any snags and shape it. Use a fine grit file to gently rough up the surface around the split, avoiding the skin. This helps the glue adhere better. Then use acetone to remove all traces of dirt, oil, and old lacquer from the nail.
Use a Tea Bag & Glue
For small surface splits, you can often repair them at home simply by using a tea bag and clear nail glue. Cut a small piece of tea bag to fit over the split. Apply a layer of clear drying glue over the split, place the tea bag piece on top to bridge the split, then seal it with another layer of glue. The fibers in the material will act as a reinforced patch over the damaged nail.
Apply a Protective Base Coat
If the split extends through multiple layers of the nail plate, you’ll need to protect it from moisture and bacteria entering and exacerbating the problem. Use a dedicated nail repair base coat formulated for splits to seal and reinforce the nail. Let it dry thoroughly. This provides a flexible layer that prevents splitting and cracking.
Fill the Split with Product
For deeper splits, you can use acrylic or gel nail product to fill in the split and bond the nail layers together. Apply a thin bead of acrylic into the crevice of the split. Then use a smooth nail file to shape the acrylic into a natural extension of the nail shape. Buff the surface lightly to blend. The acrylic acts as a patch to close the split.
Apply Non-Chip Polish
Once the split is repaired, apply a layer of Gel polish to add strength and protection. This keeps moisture from entering the nail layers. Gel polish formula resists chipping and wear. Apply thin even coats, curing each layer fully before adding the next.
Recommend Home Care
Advise your client on ways to prevent future splits and breaks by keeping nails strong and protected:
- Moisturize nails daily with cuticle oil
- Take biotin supplements for healthy nail growth
- Avoid excessive water exposure
- Wear gloves for cleaning and gardening
With the right techniques and products, you can help clients repair and disguise nail splits while also preventing further damage. Practicing on a Nail Trainer hand is a great way to perfect your split repair skills before working on live clients. With experience, you’ll become adept at assessing and fixing split nails in your future nail technician career.

